Saturday, August 20, 2011

Plug wire tube


Here are a couple of brackets that I constructed all by myself to hold a tube to route the spark plug wires beneath the intake manifold. The early jaguars had a loom of sorts that routed the exposed wires beneath the carbs. I don't like that set up for a couple of reasons- one is that the high tension wires are right below thge S.U. carbs that aren't known for their ability to not leak, and the other is that they are just visually messy at that location. To correct this on later cars they routed the wires over the cam cover rather than down the middle of the head from the rear, and they mounted the coil in all sorts of highly visable areas. I don't like that either. This will keep the wires protected and out of view for the most part. The coil is also below the intake manifold. Spark plug wires were installed through the installed tube today. Unfortunately, I forgot to take a shot of all of this in place 
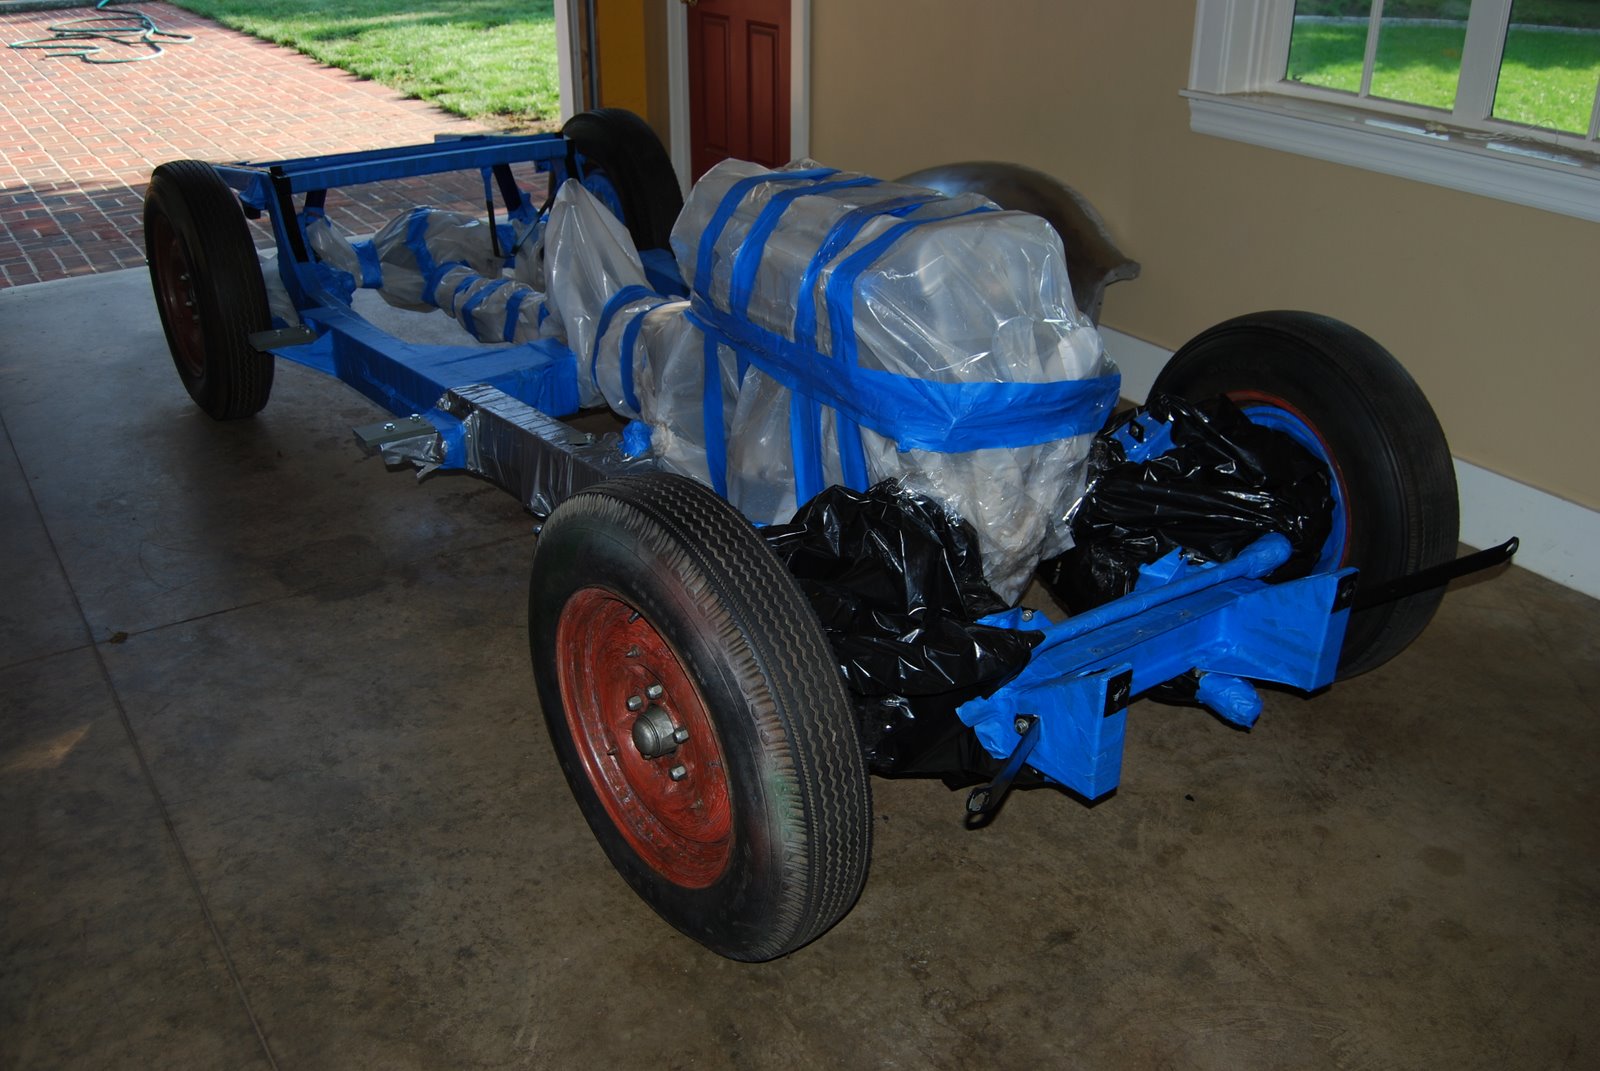
before I finished bagging the engine.


Other news: the headers were sent back. The original exhaust manifolds were sent to the porcelain shop. I really liked the headers except for the fact that the fit was so bad. The original type Special Equipment dual exhaust system will be used. Carbs have been sent off. I need to order spats and the gas tank soon.

Posted by Picasa

Sunday, August 7, 2011

Baggin' it


Some big news this week: the sheet metal parts have been sent off to reform school. They were just too much for me- wouldn't listen, seemed way too set in their own ways, and I just couldn't get them to follow my intentions. It is hoped that they will eventually return reformed, straightened out as necessary, and generally well-behaved. This is a strict school; one that is known for it's corporal punishment and hands on approach. Ok, ok, enough of that.


So what I am doing here is bagging and masking the frame, suspension, and eventually the engine assuming the ordered parts arrive to allow me to button it up. .

The last shot shows the stainless headers that arrived. They look great. Welding is beautiful and complete. Unfortunately, the rear header has the head flange welded a couple of degrees out of plumb and the two headers hit each other and the rear one will not clear the brake master cylinder. Curses. Also, the lead pipes are wrong. They need to have a double curve at the rear to go from beneath the frame back up to the muffler. The ones that arrived are straight.

Posted by Picasa

Sunday, July 31, 2011

Sheet metal pieces


Getting ready for the panel beater, I have acquired new sills, new b pillar shut panels, a battery box repair assembly, and some other odds and ends. I wait for the spare tire tray and for the boot floor.
Posted by Picasa

Door Hinges


The door hinges came back from the welder. The only thing welded was the little rectangular stop block adjacent to the hinge pin or the hole in the second shot. The first is of the assembled hinge with the pin in location next to the stop. This is intended to stop the hinge pin from becoming frozen in the arm and causing the holes to become rounded out in the hinge box. Also note in the second shot that the arm itself has been drilled out and a bronze insert placed. This should now never seize and if it wears a lot, then the bronze bushing can be drilled out and replaced.

Posted by Picasa

Sunday, July 24, 2011

Carb mockup


The carbs have been cleaned. The starter carb bolt has been drilled out-I couldn't free it-and the front carb dashpot piston has also been freed. So these shots are generally of the carbs reassembled and put into position. They have not yet been rebuilt- just put back the way they should eventually look and fit.

I timed the camshafts sorta. I got the cam sprockets located with the cams at dead center and have one bolt on each side to hold the location. Chains are tensioned and the front breather cover is on for good. I want to fit the proper bolts through the sprockets onto the cams then run the engine around to determine the camshaft characteristics since it is not original. I know that the lift is greater slightly and the duration is longer than stock, but that is it.

Other news: the door hinges are off to the welder, the right rear fender is off for a patch panel, and some sheet metal parts have arrived.

Posted by Picasa

Saturday, July 23, 2011

Intake and Valve Cover mock-up


As you can see, I am not anxious to see this together at all. The valve covers and the intake manifold are not yet mounted. I have not finished up the cam timing as Peter really wants to be a part of this celebration and I need the cam sprocket bolts. They should be here on Monday. And the exhaust manifold studs (stainless steel replacements) have been installed. Looking good.
Posted by Picasa

Head meets block


Well, the title says about all that needs to be said. One thing that I screwed up on here is that, in my haste to see this on the block, I forgot to install the four studs on the bottom of the head on either side of the timing chains. So I had to lift the head off the block and install them. It is a bit of a pain to lift this sucker once all of the head studs have been guided through. Oh well, no choice. So I got to put it on twice.

First two shots show the head in position. The next shows the head bolted down (see the chrome dome nuts), and the intake manifold studs installed.

Posted by Picasa